


The Kit includes:
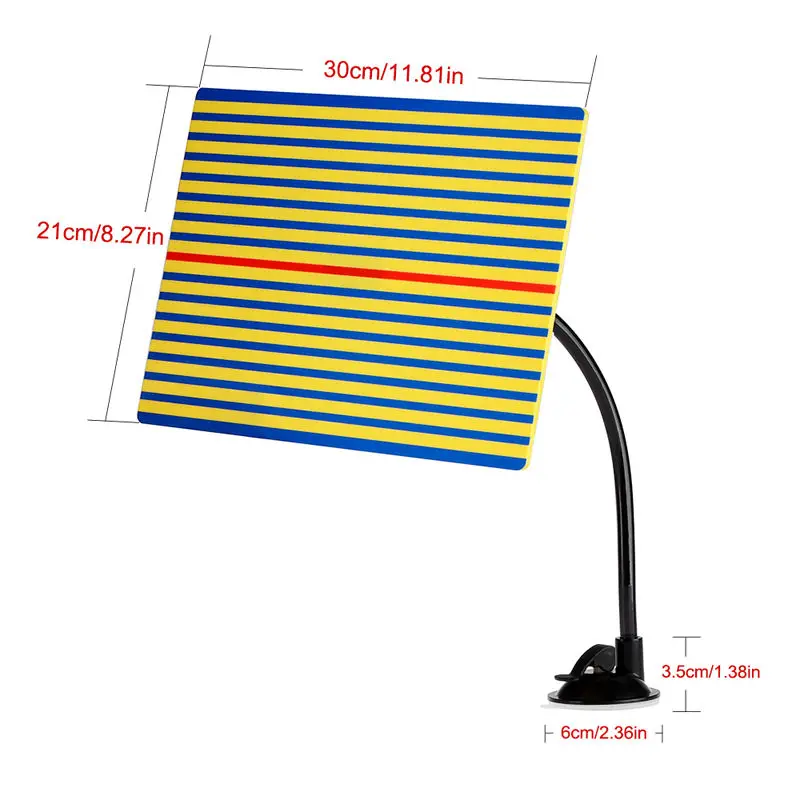
1 x reflector board
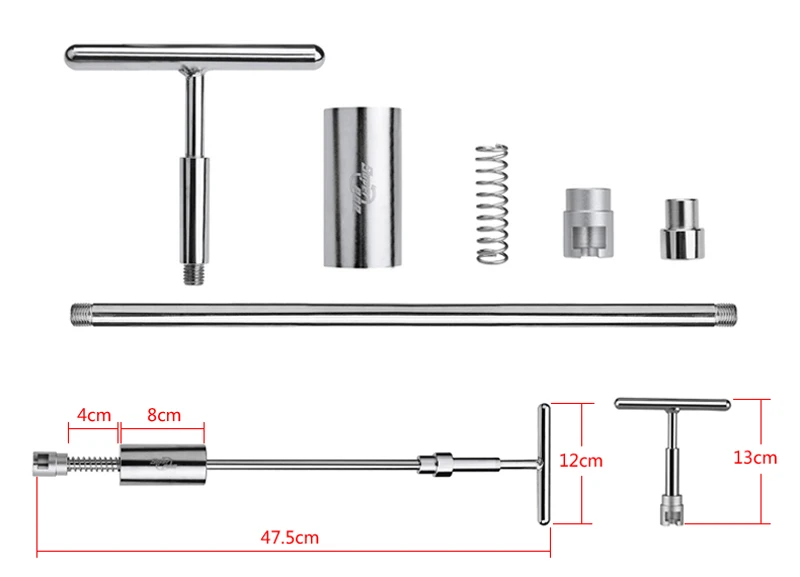
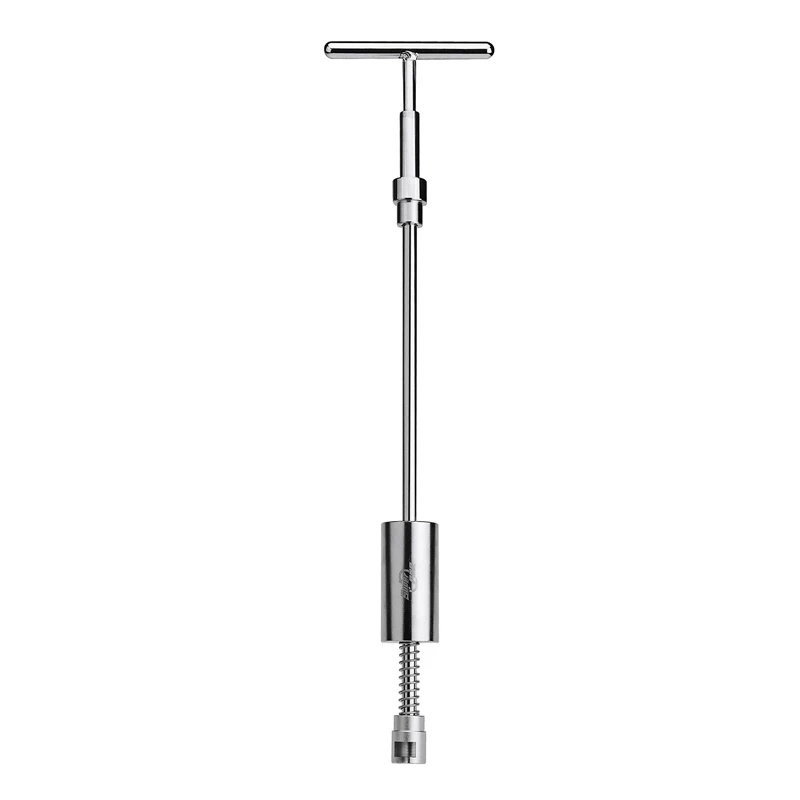
1 x 2 in 1 T- Bar
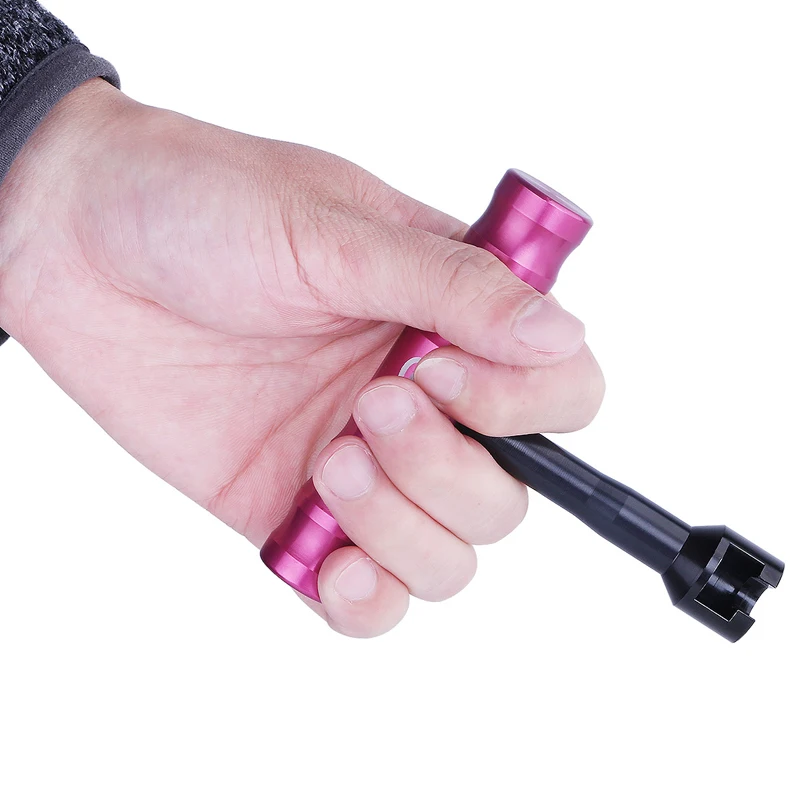
1 x Hand T Bar Puller
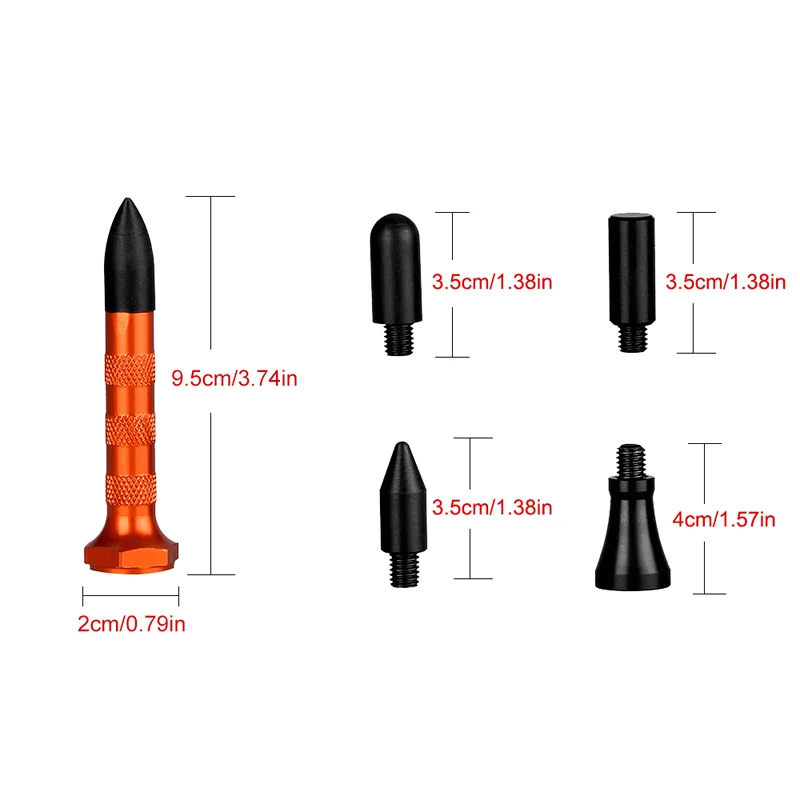
1 x Tap Down with 9 heads
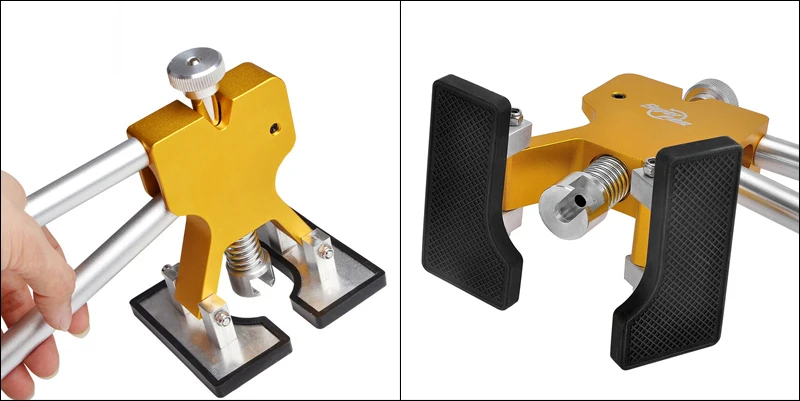
1 x golden dent lifter
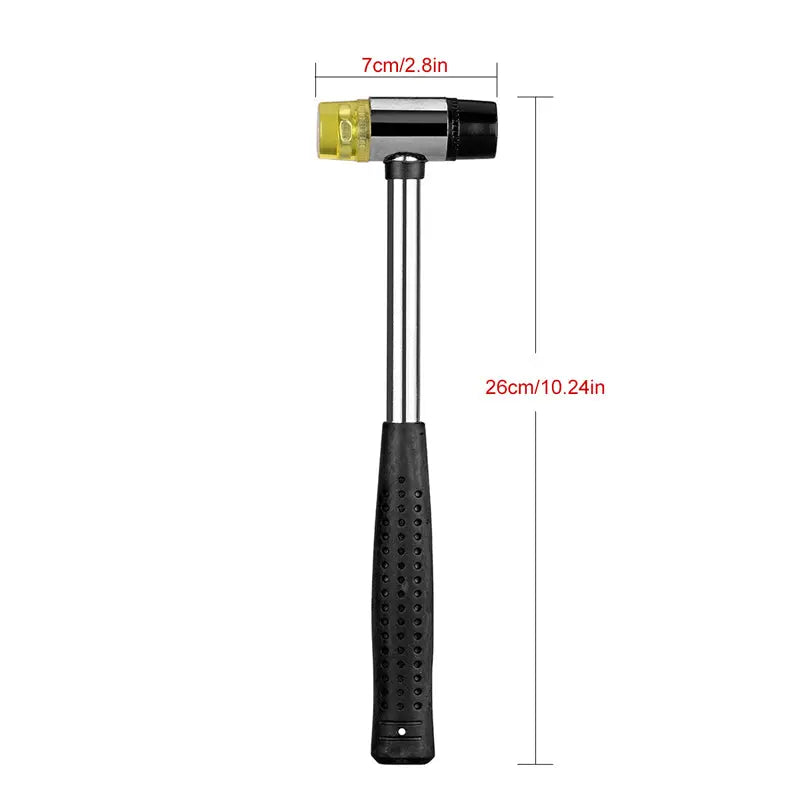
1 x rubber hammer
1 x dent repair hammer
1 x lifter
10 x red glue tabs
15 x blue glue tabs
8 x yellow glue tabs
9 x black glue tabs
6 x aluminum tabs
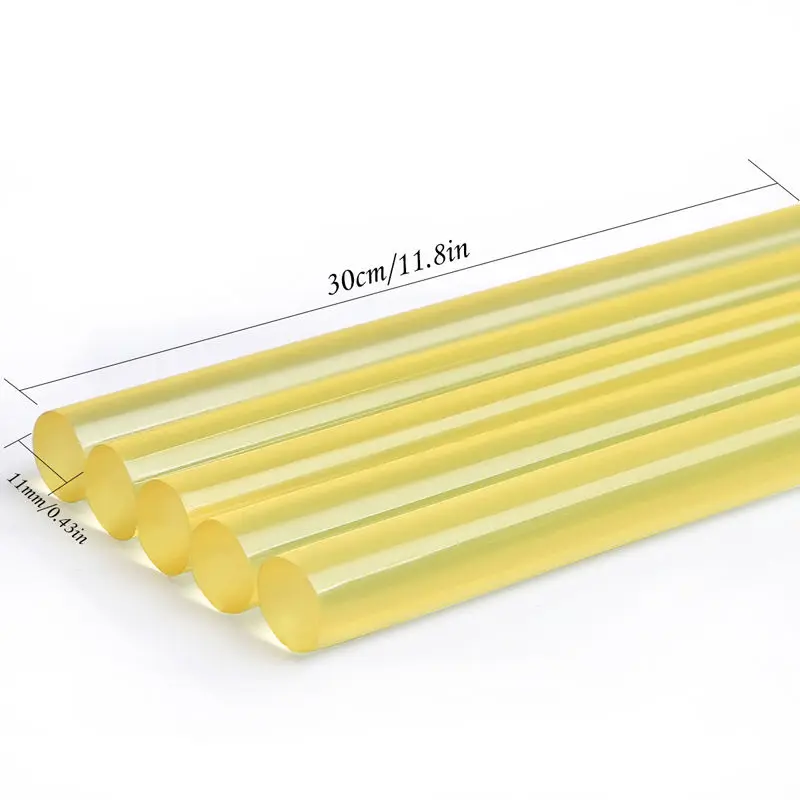
4 x yellow glue sticks
4 x black glue sticks
4 x white glue sticks
1 x pump wedge
1 x empty bottle for alcohol
1 x scraper
1 x cleaning cloth
1 x product manual
plus bonus tool bag
* Glue gun required to perform certain tasks, not included.


How to use PDR paintless dent repair kits?
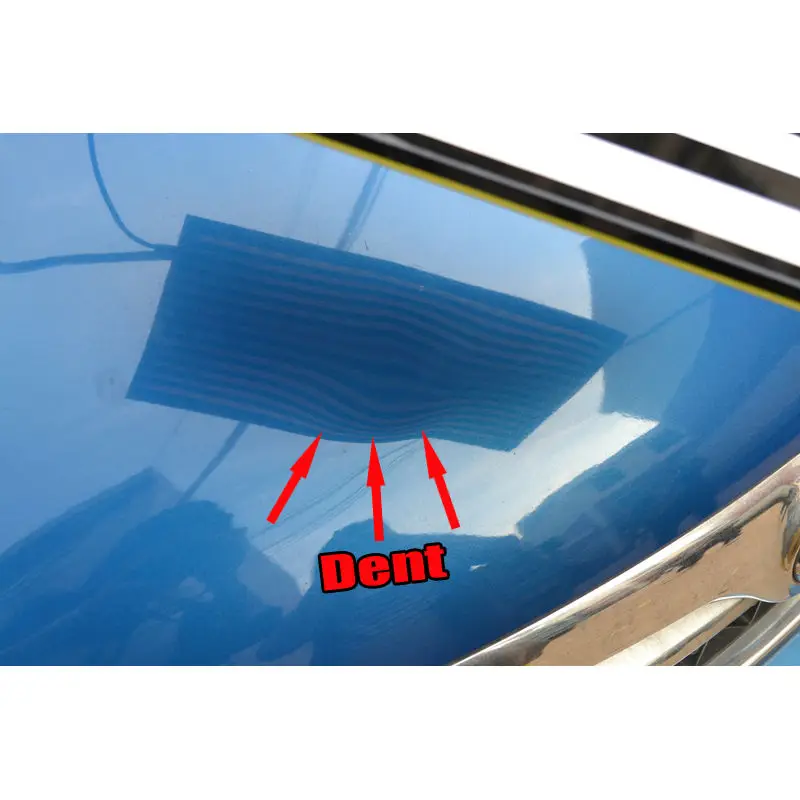
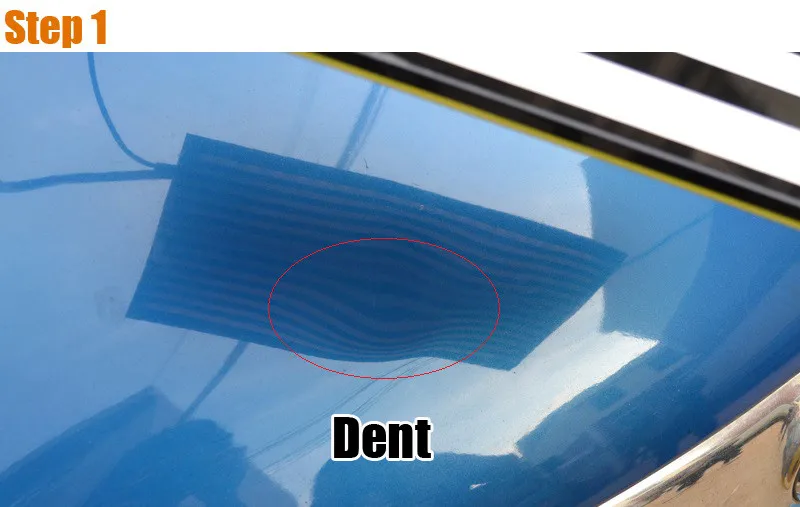
1. Clean the dent with a clean wet cloth (you can use the yellow line board to confirm the dent)
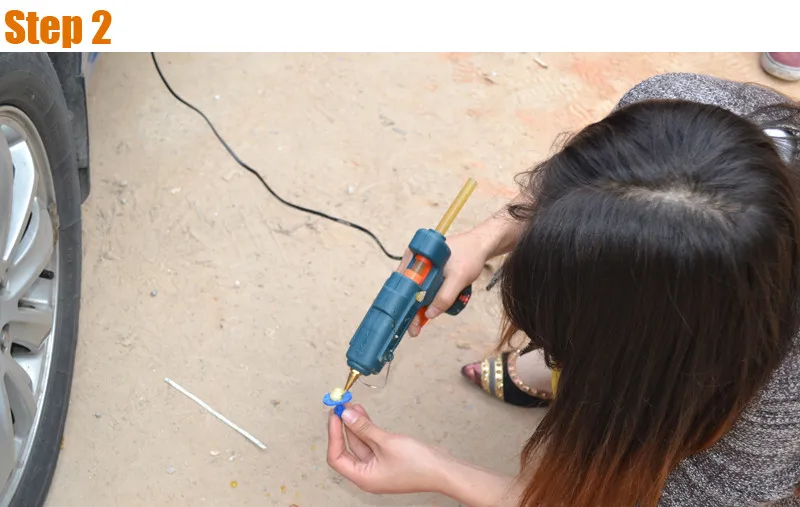
2. Mount the glue stick into the glue gun, pull the trigger to let the glue stick enter into the glue gun, connect the power source and preheat for 5 minutes
3. Use a proper drawing gasket. Large dent requires a large drawing gasket.
4. Pull the trigger and apply the drawing gasket with extruded glue
5. Fast place the drawing gasket with hot melt glue at the center of dent, press lightly until the glue cures and adheres (Let the glue cool for about 8 minutes. The cooling time should be less than 10 minutes and should be shorter slightly in winter)
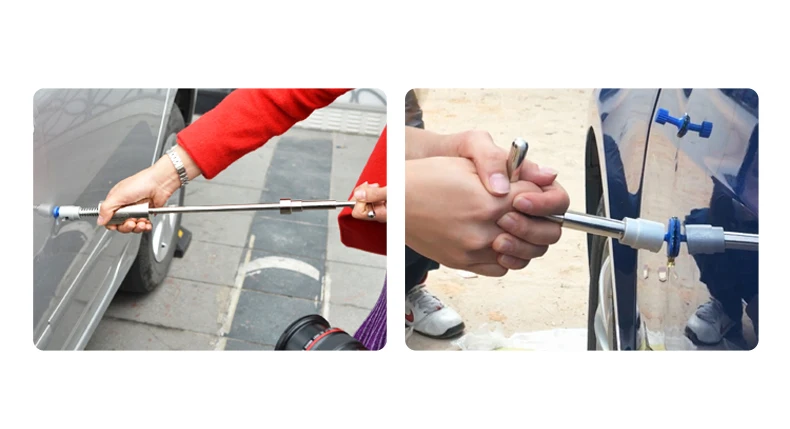
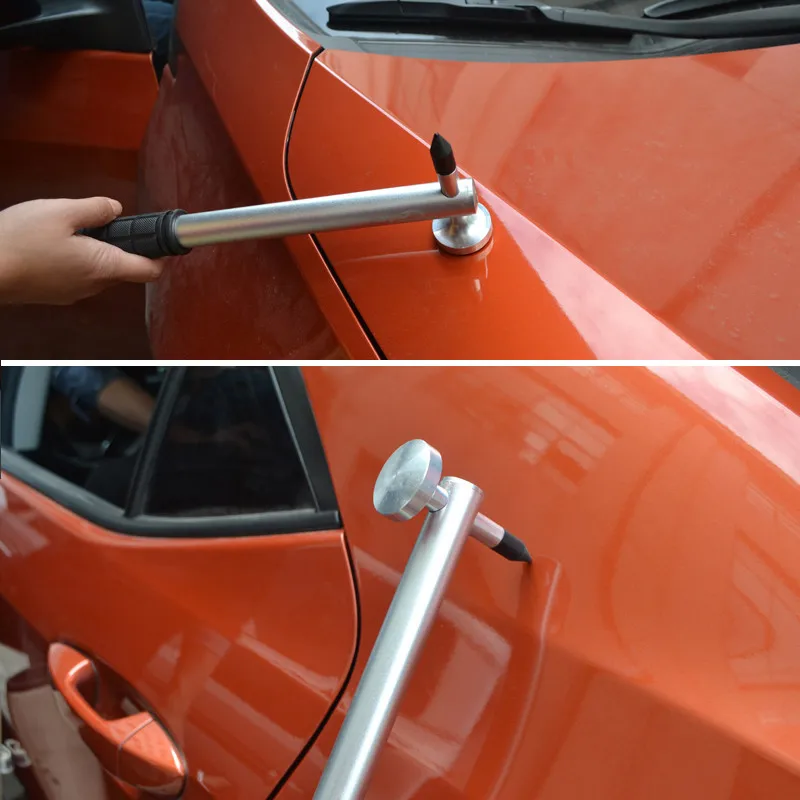
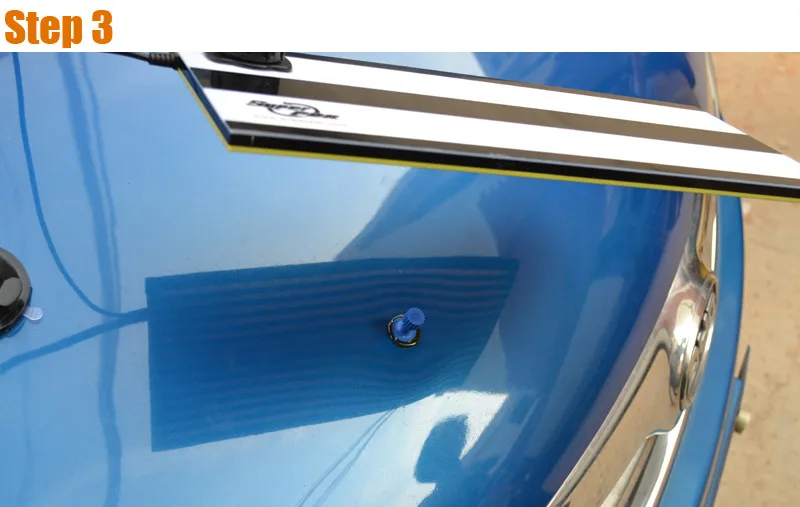
6. Align the T-shaped repairer and press the drawing gasket with hot melt glue, pull the sliding rod backwards to pull up the dent
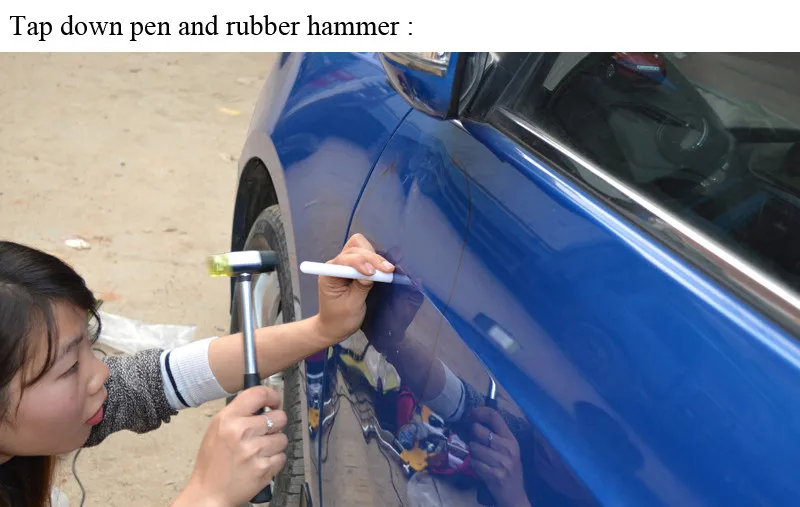
7. Check with a Line board. If dent still exists, knock it slightly with a flattening hammer or pen
8. Clean the repaired place with a clean wet cloth.
Note: If the above repair is not repaired successfully, please repeat the repair again
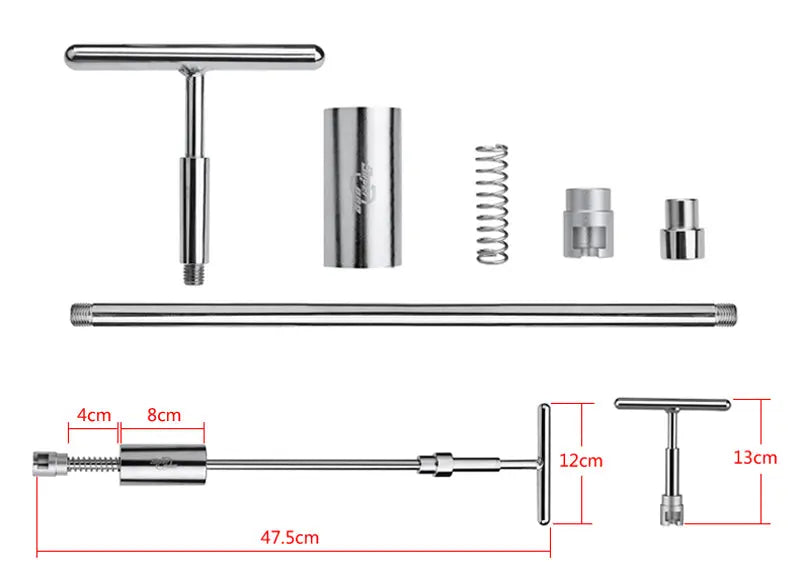
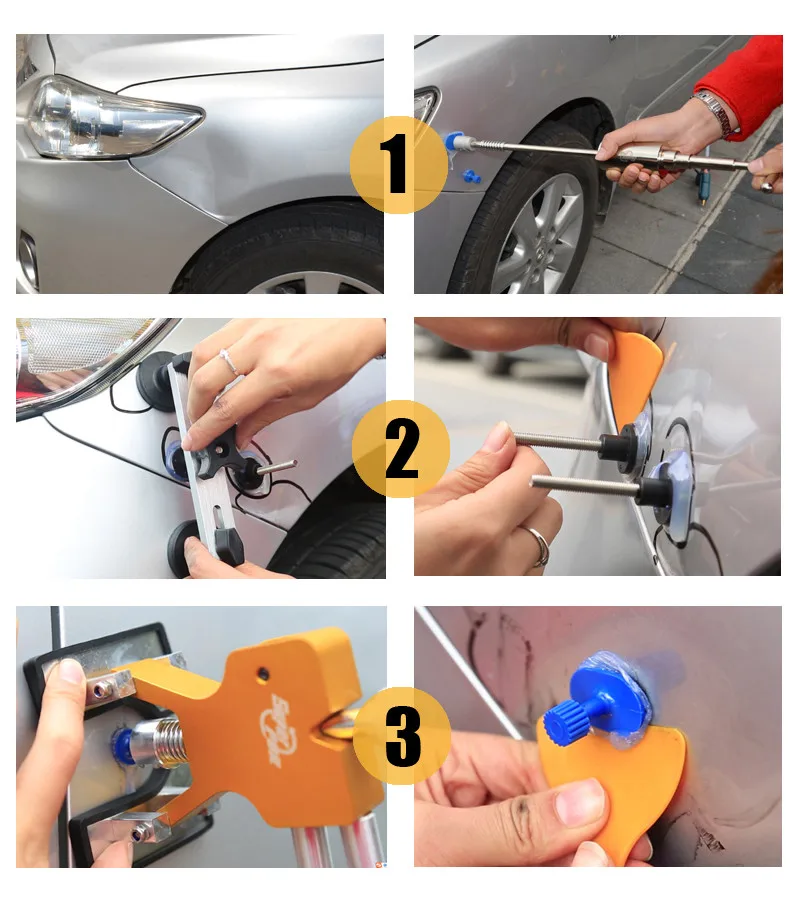
Big dent , please first use the T slide hammer to repair , when the T slide hammer repair later , will have the some small dent , this times you can try pulling bridge tool (good for less 9cm dent) ,if pulling bridge tool use later also have very very small dent , this time , you can try Glue Puller tool (good for less 3cm dent) (seen the picture)
If the surface after repair has raised point, you can use the tap down pen and rubber hammer /ding hammer presses the bump:

Features: